
As you know, the transition to Wayland from the traditional Xorg server in the Linux ecosystem has been a hot topic that caused much controversy and, admittedly, a fair share of troubleshooting.
While Wayland promises a more streamlined and secure interface than its predecessor, Xorg, users have often encountered hurdles, particularly regarding compatibility with NVIDIA graphics cards.
In other words, the journey hasn’t always been without bumps, from rendering issues to compatibility quirks. However, it’s becoming increasingly clear that the NVIDIA and Wayland combo, while not yet a perfect match, is evolving into a viable, working solution for many.
Still, with the proper guidance and a bit of patience, using NVIDIA with Wayland on Arch is not just a possibility but a largely workable solution. You can approach this transition with confidence.
This guide is designed to do precisely this: usher you through the setup process and offer solutions to ensure you can take most of your NVIDIA and Wayland experience on Arch Linux. So, let’s get started.
Set Environment Variables
With NVIDIA’s introduction of GBM (Generic Buffer Management) support, a crucial component of the Linux graphics stack that provides an API for allocating buffers for graphics rendering and display, many compositors have adopted it as their default. So, to force GBM as a backend, we need to set some environment variables.
Open the “/etc/environment” file, paste the following two lines, then save the file and exit.
sudo nano /etc/environmentCode language: Bash (bash)GBM_BACKEND=nvidia-drm
__GLX_VENDOR_LIBRARY_NAME=nvidiaCode language: Bash (bash)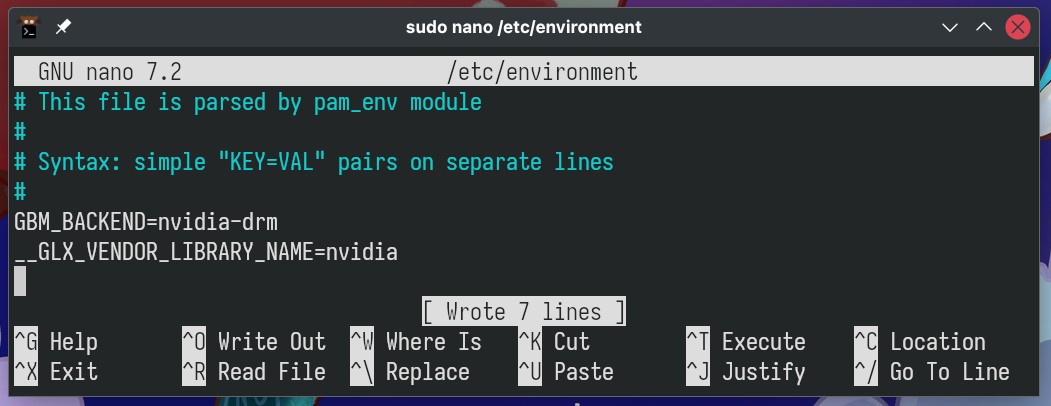
Loading the NVIDIA Modules at System Boot
To ensure that the NVIDIA modules are loaded at the earliest possible stage, i.e., on the system boot, we need to add the ‘nvidia,’ ‘nvidia_modeset,’ ‘nvidia_uvm,’ and ‘nvidia_drm‘ modules to the initramfs – a temporary root file system loaded into memory as part of the boot process before the real root file system is mounted.
This is possible by entering them in the “MODULES” section of the “/etc/mkinitcpio.conf” file. This is a configuration file for mkinitcpio, a tool Arch uses to generate initial ramdisk images.
So, open the “/etc/mkinitcpio.conf” file:
sudo nano /etc/mkinitcpio.confCode language: Bash (bash)Then, enter the modules mentioned above, as the final version should look like this:
MODULES=(nvidia nvidia_modeset nvidia_uvm nvidia_drm)Code language: Bash (bash)
Great, but we’re not done with this file yet. Scroll down and remove the “kms” from the “HOOKS” section. This ensures that the initramfs will avoid including the open-source “nouveau” driver to mess with the work of the proprietary NVIDIA one we have installed and rely on.
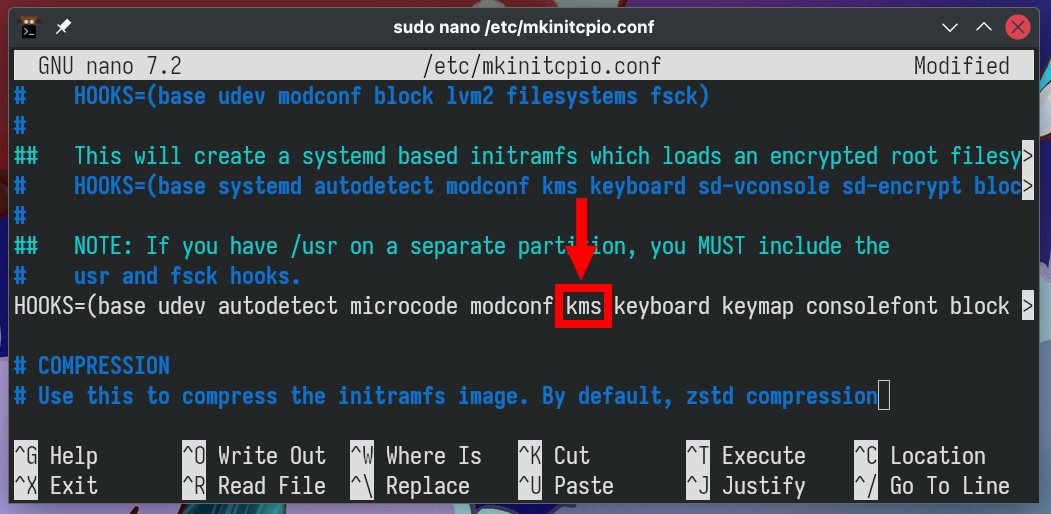
We’ve finished modifying “/etc/mkinitcpio.conf“. Save your changes and close the file. Next, we’ll proceed to regenerate the initramfs. To do this, execute the following command:
sudo mkinitcpio -PCode language: Bash (bash)In the command’s output, you might notice messages like “WARNING: Possibly missing firmware for module…” These shouldn’t cause concern and are unrelated to the modifications we are currently implementing.
Enable DRM
DRM (Direct Rendering Manager) is a subsystem of the Linux kernel responsible for interfacing with GPUs. It provides a framework for graphics drivers to enable direct access to the graphics hardware, which is crucial for performance in rendering tasks, 3D graphics, video playback, and more.
NVIDIA provides proprietary graphics drivers for Linux that use the DRM subsystem to interact with their GPUs. These drivers are essential for getting the best performance and feature support on NVIDIA hardware under Linux.
Enabling the DRM kernel mode setting is required for Wayland compositors to function properly. So, we will pass it as a parameter to the Linux kernel during its initial boot through the GRUB bootloader.
Open its configuration file:
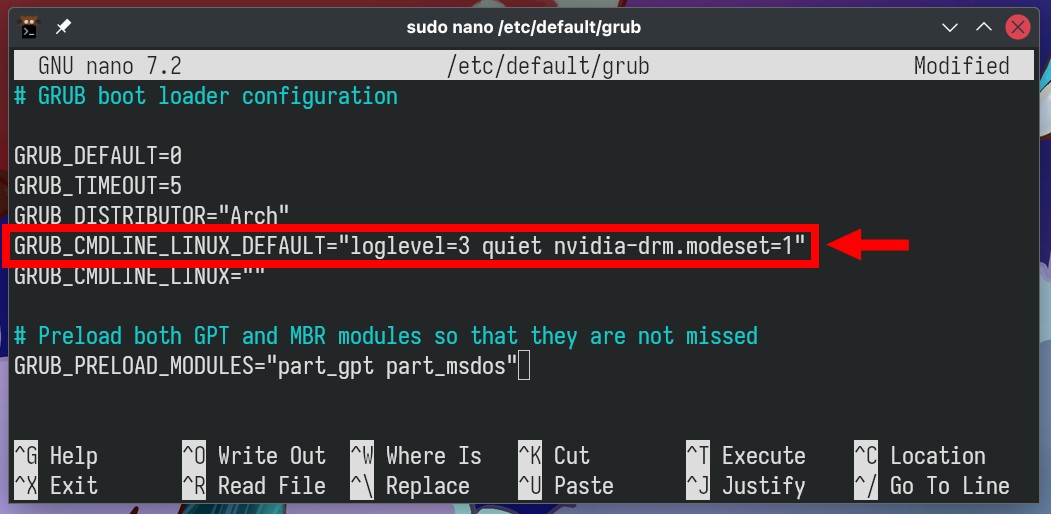
sudo nano /etc/default/grubCode language: Bash (bash)Locate the line that begins with “GRUB_CMDLINE_LINUX_DEFAULT” and append “nvidia-drm.modeset=1” to its end. The completed line should resemble the example provided below.
Finally, regenerate the GRUB configuration by running:
sudo grub-mkconfig -o /boot/grub/grub.cfgCode language: Bash (bash)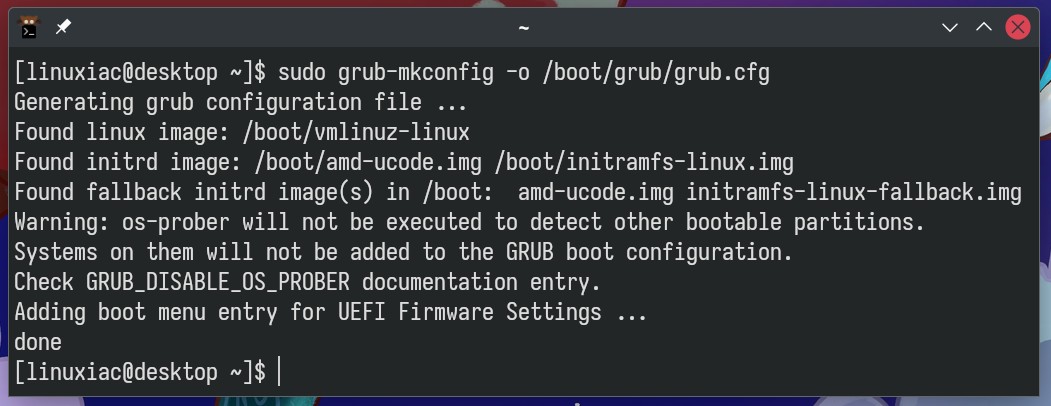
Testing Wayland with NVIDIA on Arch Linux
You are all set up. Now, reboot your Arch system. At the login screen of the display manager you’re using, choose the Wayland Session option.
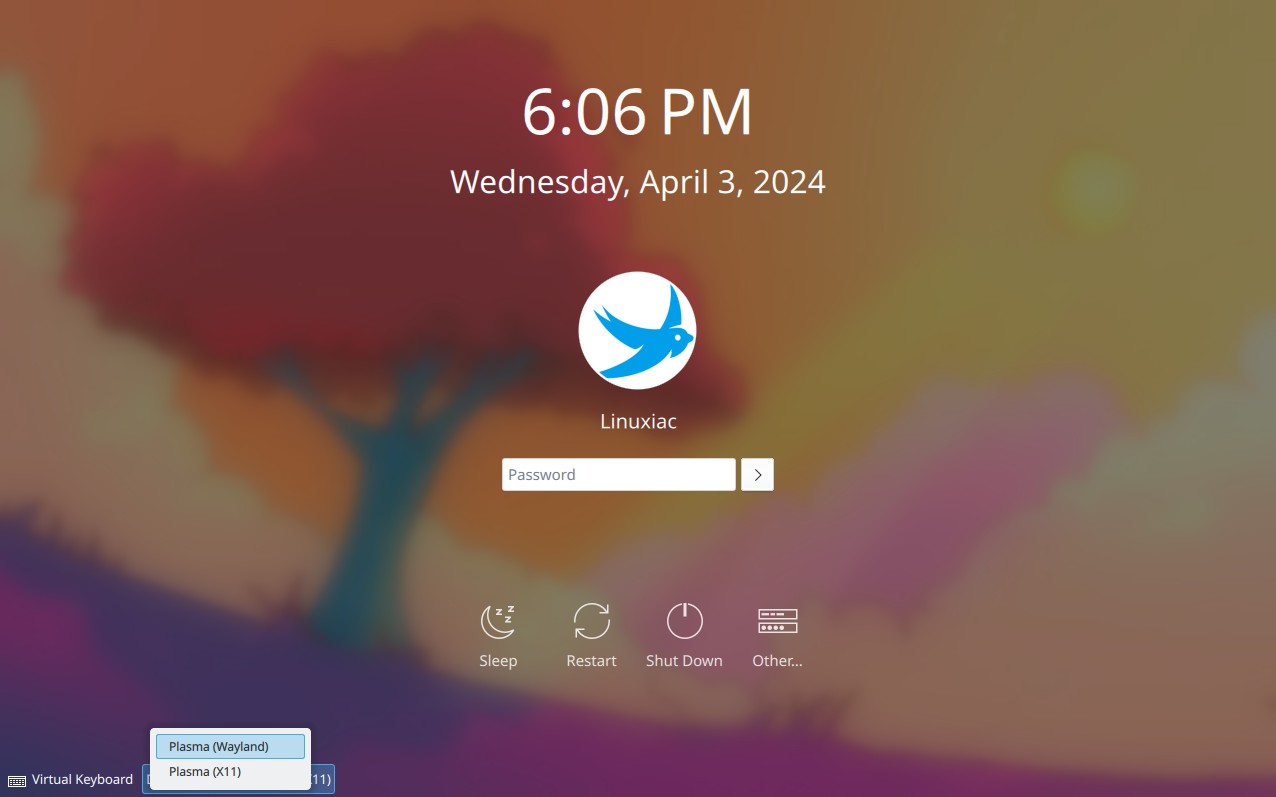
Log in and enjoy a seamless Wayland experience with NVIDIA and your beloved Arch Linux.
In addition, to verify that the NVIDIA DRM settings were correctly applied after a reboot, execute the following command; in response, you should get “Y.”
sudo cat /sys/module/nvidia_drm/parameters/modesetCode language: Bash (bash)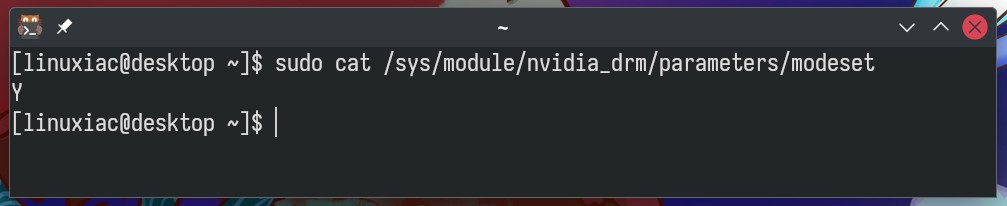
Bottom Line
In the end, it’s essential to clarify a key point. Our guide has confidently demonstrated that Wayland can operate smoothly with NVIDIA on an Arch system. This, however, does not extend to guaranteeing that every application, game, or desktop environment will also function flawlessly.
The compatibility of these components with Wayland varies and is dependent on the extent to which they have integrated support for it.
For example, desktop environments like KDE Plasma and GNOME offer very good support for Wayland, ensuring a seamless experience. On the other hand, environments like Cinnamon, with only basic Wayland support, may not deliver the same smoothness. So, it’s important to consider these differences.
Similarly, using the Hyprland dynamic tiling Wayland compositor would result in a smooth user experience, whereas others that are still dependent on Xorg may not offer the necessary support for Wayland. This variability in compatibility applies to individual applications too, so it’s important to be aware of potential issues when using specific software.
In conclusion, navigating the complexities of setting up Wayland on Arch can seem daunting, especially for those wielding the power of NVIDIA GPUs, who have historically faced hurdles ranging from rendering glitches to compatibility concerns.
Yet, with the proper knowledge, a dash of perseverance, and our guidance, the hurdles that once seemed impossible begin to shrink to the level that, with the correct setup, NVIDIA and Wayland can indeed create a synergy that brings out the best in your Arch setup.
Finally, we recommend referring to the specific Wayland and NVIDIA sections on the official Arch wiki for a more comprehensive understanding. They provide detailed information on setting up and troubleshooting Wayland and NVIDIA on Arch, making them valuable resources for further exploration.
And, of course, we’d love to hear your feedback or thoughts, so please don’t hesitate to share them in the comment box below.


In the “Enable DRM” section, how do you proceed when you don’t use grub, but systemd-boot?
Hi Fernando,
You should do the following. Access the systemd-boot entries at “/boot/loader/entries/.” Edit the “.conf” file corresponding to the boot entry you wish to modify by adding the kernel parameter (“nvidia-drm.modeset=1”) to the “options” line to enable DRM. Save the file and exit. Finally, reboot your system to apply the changes.
I hope I’ve been helpful.
Best,
Bobby
Hello
I have an error “missing module nvidia-uvm”
Hi,
Maybe this will help you:
https://bbs.archlinux.org/viewtopic.php?id=271710
Best,
Bobby
Is there a chance to update the guide for dracut?
Hello, in the “Enable DRM” section, your instructions set “nvidia-drm.modeset=1” directly within the grub configuration, but the Arch wiki has instructions to do this using files with modprobe. Is there a particular reason this should be done in grub instead?
“Hello, I want to ask, my laptop has an Intel+NVIDIA graphics card. After installation, it defaults to using the Intel graphics card. How can I use the NVIDIA graphics card and how to switch between them? It’s difficult to switch through Wayland.”